Japanese-style Portrait Editing Guide
Tone Curve, RGB Curve Channels, Hue, Saturation
Senior ShuttersPosted on 2024-02-18 19:13:54
#photography #portrait #photoediting
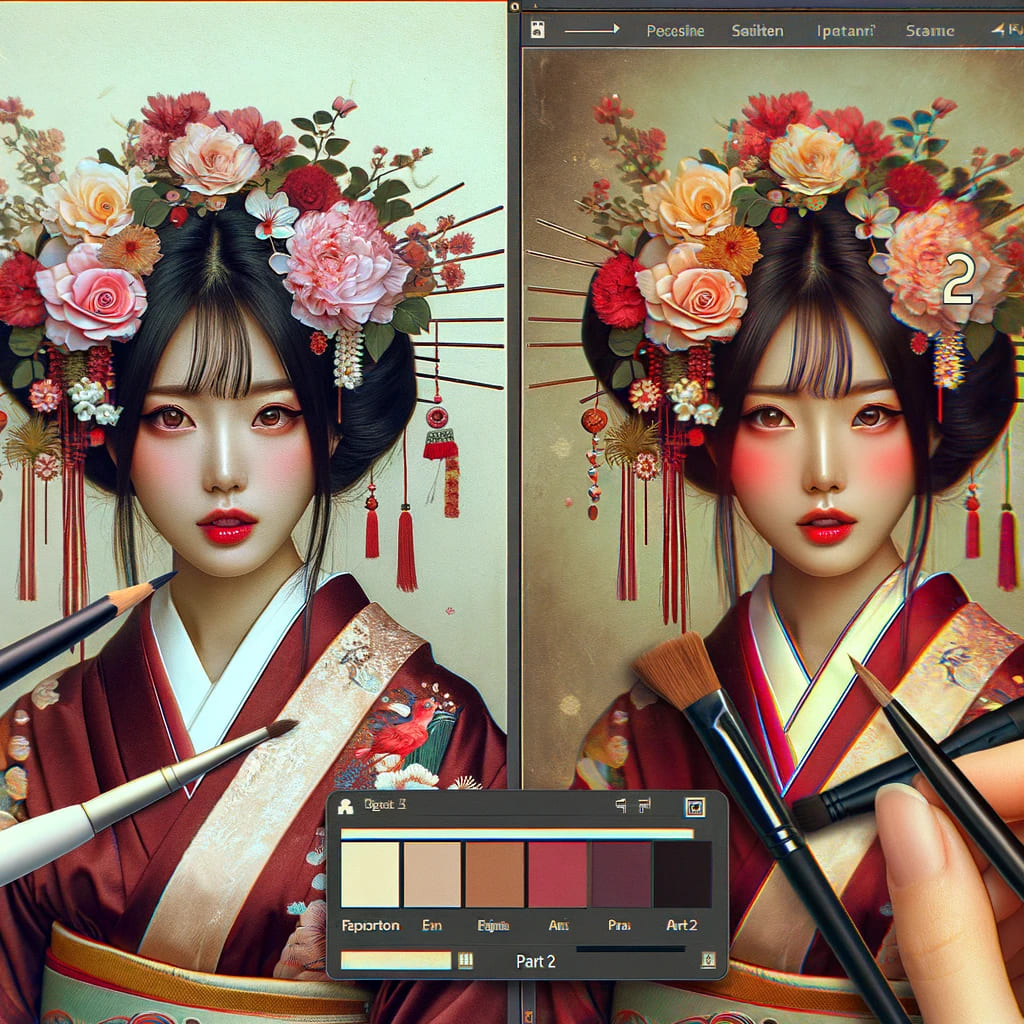
Have you already seen "Japanese Portrait Retouching Part 1" and "Japanese Portrait Retouching Part 2"? Were these techniques helpful to you? Next, we will further explain adjustments to the tone curve, including the red channel, green channel, and blue channel. We will also introduce color grading, which includes adjustments to hue and saturation. What kind of settings require special attention in Japanese-style portrait retouching? Let's take a look together!
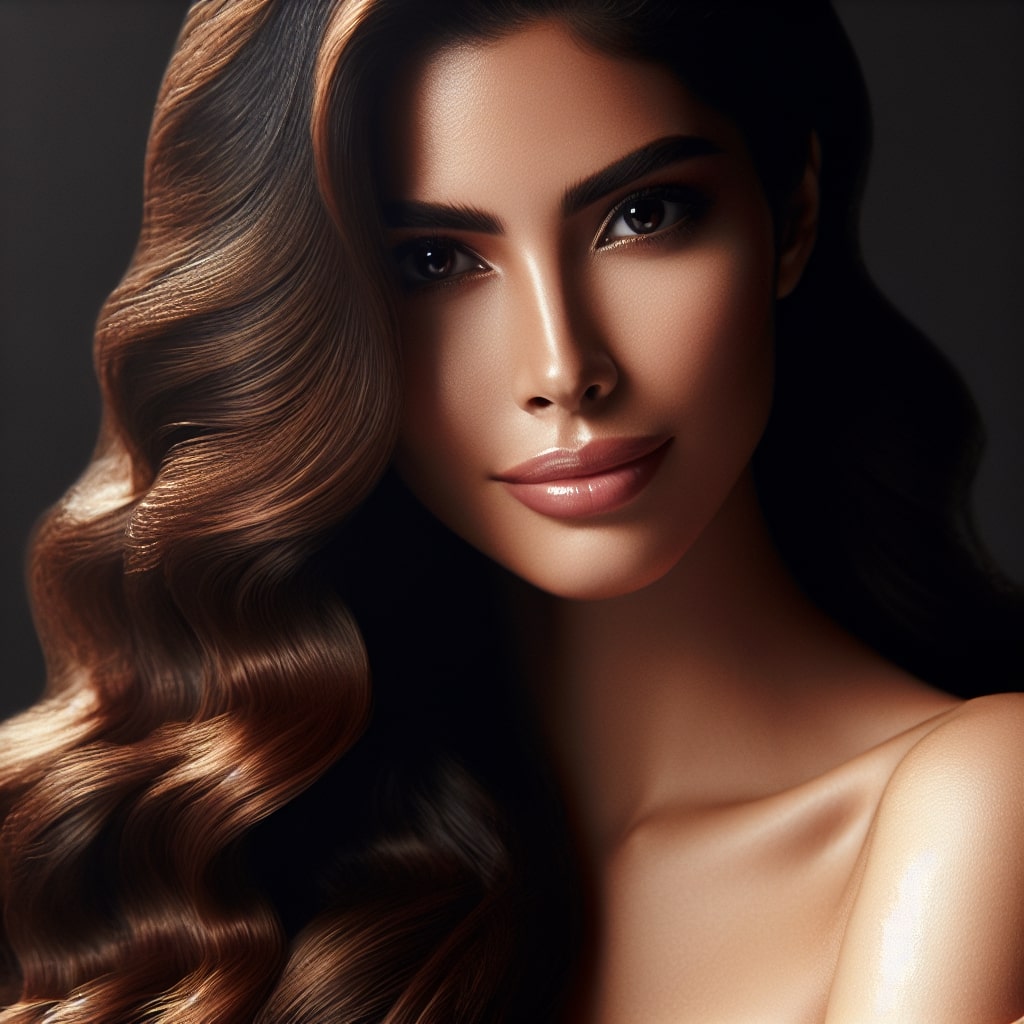
 Generated by OpenAI DALL·E 3
5. Tone Curve
The tone curve is one of the powerful tools in photo retouching. It delicately controls the brightness, contrast, and color balance of photos, making it very suitable for creating specific styles, such as Japanese-style portraits. Japanese style emphasizes soft, natural tones and delicate lighting effects, and using the tone curve can effectively achieve this effect.
Basic S-Curve Adjustments
- Slight S-Curve: For Japanese style, a slight S-curve can increase the image's contrast while maintaining its softness and natural feel. In the tone curve, gently lower the dark parts (lower left), making the shadows slightly darker, then gently raise the light parts (upper right), making the highlights slightly brighter.
- Detail Preservation: It is important to ensure adjustments are not overdone to avoid losing details in the shadows or highlights. Minor adjustments are key.
Details and Depth
- Midtone Adjustments: Adjusting the middle part of the curve controls the midtones of the image, which is very effective for affecting the overall depth and three-dimensionality of the image. For Japanese style, it's important to keep the natural balance of midtones, avoiding an unnatural feel due to excessive adjustments.
- Highlights and Shadows: In S-curve adjustments, be careful not to compress the highlights or shadows too much to maintain the image's dynamic range and details.
Color Adjustments
- RGB Curve Separate Adjustments: The tone curve can adjust brightness and contrast and separately adjust the R (Red), G (Green), and B (Blue) channels. This allows for delicate color balance adjustments, enhancing or weakening specific colors. For Japanese style, these channels can be delicately adjusted to enhance warm tones or create soft color effects.
Practical Tips
- Delicate Operation: Adjustments to the tone curve should be delicate and purposeful, avoiding over-adjustment. Small adjustments can often bring significant visual improvements.
- Preview and Compare: Frequently preview and compare the effects before and after adjustments during the process to ensure the adjustments match your creative ideas and maintain the natural feel of the image.
RGB Curve Separate Adjustments
In Japanese-style portrait retouching, using the RGB curve separate adjustments in the tone curve can finely control and adjust the photo's color balance, further enhancing or creating warm, soft tones. This is crucial for creating a specific atmosphere in Japanese style. Here are some suggestions for applying RGB curve separate adjustments in Japanese-style portraits:
Red Channel
- Warm Skin Tones: Slightly raising the midtones or highlights in the red channel can make skin tones appear warmer and more natural. This is particularly important for Japanese style, which emphasizes natural and comfortable visual effects.
- Balance Attention: Avoid over-adjustment to prevent skin tones from becoming too red, maintaining delicate and natural adjustments.
Green Channel
- Adjusting Natural Environments: Adjusting the green channel can affect the color tone of natural backgrounds, such as leaves and grass. Slightly adjusting the green channel can help the background blend better with the subject, creating a harmonious overall feeling.
- Maintaining Natural Colors: Moderate adjustments, avoiding overly bright or subdued background colors, to maintain the softness and natural feel of Japanese style.
Blue Channel
- Warm-Cool Contrast: Adjusting the blue channel is very effective for balancing the overall image's warm-cool contrast. In Japanese style, slightly lowering the dark parts of the blue channel can reduce the cold tones in shadows, making the overall image appear warmer.
- Enhancing Atmosphere: Appropriate blue adjustments can also increase or decrease the blue saturation of the sky and water, adjusting the atmosphere and depth.
Comprehensive Application Techniques
- Emphasizing Details: Using RGB curve separate adjustments, specific areas' colors and details can be delicately emphasized or corrected without affecting the overall exposure and contrast.
- Creating Specific Tones: Adjusting the curves of each color channel can create tones with specific moods or styles, such as softer warm tones or retro-colored effects.
- Experimenting and Adjusting: Each photo's lighting and color conditions are unique, so it's necessary to experiment and make detailed adjustments according to the specific situation, finding the most suitable Japanese-style expression for the photo.
6. Color Grading
In the color grading mentioned in point 6, slight adjustments to hue and saturation are made to achieve more natural and ideal skin tones. Here are some specific suggestions for skin tone adjustments:
Hue Adjustment
- Red and Orange: These colors directly affect skin tones. You can slightly adjust the hue of red and orange to make skin tones look more natural. For example, if the skin tone appears too red, you can slightly shift the hue of red and orange towards yellow or pink.
- Yellow: This usually affects the highlights in the image, especially in outdoor environments. Adjusting the hue of yellow can affect the overall warmth of the picture.
Saturation Adjustment
- Red and Orange: Lowering the saturation of these colors can reduce the intensity of skin tones, making them look more natural. Too high saturation might make skin tones look unnatural.
- Yellow and Green: These colors are usually related to the environment. Depending on the environment, you may need to adjust the saturation of these colors to maintain the overall color balance of the picture.
Practical Tips
- In Lightroom, you can use the "HSL/Color" panel for these adjustments. You can select each color individually and then adjust its hue and saturation sliders.
- It's important to make subtle adjustments and continuously preview the effects to ensure skin tones look natural without being overly saturated or color shifted.
- Each photo's lighting and conditions are different, so there is no fixed setting that applies to all images. Experimenting and previewing adjustment effects are key.
Sometimes, in Japanese-style portrait retouching, lowering saturation is a common technique. Moderately lowering the saturation of certain colors is mainly to achieve more natural, soft skin tones and overall color tones. This usually involves the following colors:
- Red and Orange Tones: These colors directly affect skin tones. Slightly lowering the saturation of red and orange can make skin tones look more natural, avoiding overly bright or unnatural appearances.
- Green Tones: When shooting in natural environments, green is often the primary color in the background (such as leaves and grass). Slightly lowering the green saturation can make background colors softer, thereby making the subject stand out more.
- Blue Tones: Blue is often associated with the sky and water. In some cases, lowering the blue saturation can reduce the intensity of the sky or water's color, making the overall picture look warmer and softer.
- Yellow Tones: Lowering the yellow saturation can help reduce the overly strong warm tone effects in some photos.
When using the tone curve for Japanese-style portrait retouching, these adjustments need to be fine-tuned according to the specific situation of each photo. Different lighting conditions, skin tones, and background colors may require varying degrees of adjustment. It's also necessary to pay attention to overall harmony and balance and significantly enhance the color expression of Japanese-style portraits through delicate adjustments to the RGB curve. These adjustments can effectively improve the naturalness of skin tones while maintaining overall photo color harmony and balance, creating richer, more delicate, and style-consistent Japanese-style portrait photos.
