Japanese-style Portrait Editing Guide
White Balance, Color Temperature, Hue, Exposure, Contrast, Highlights, Shadows
Senior ShuttersPosted on 2024-02-08 13:27:15
#photography #portrait #photoediting
Japanese-style portrait editing typically favors soft and natural color tones, emphasizing the warmth of skin color and natural lighting. Here are some basic parameter settings for editing Japanese-style portraits using the Lightroom mobile app. Note that these settings may need to be fine-tuned based on your photo and personal style.
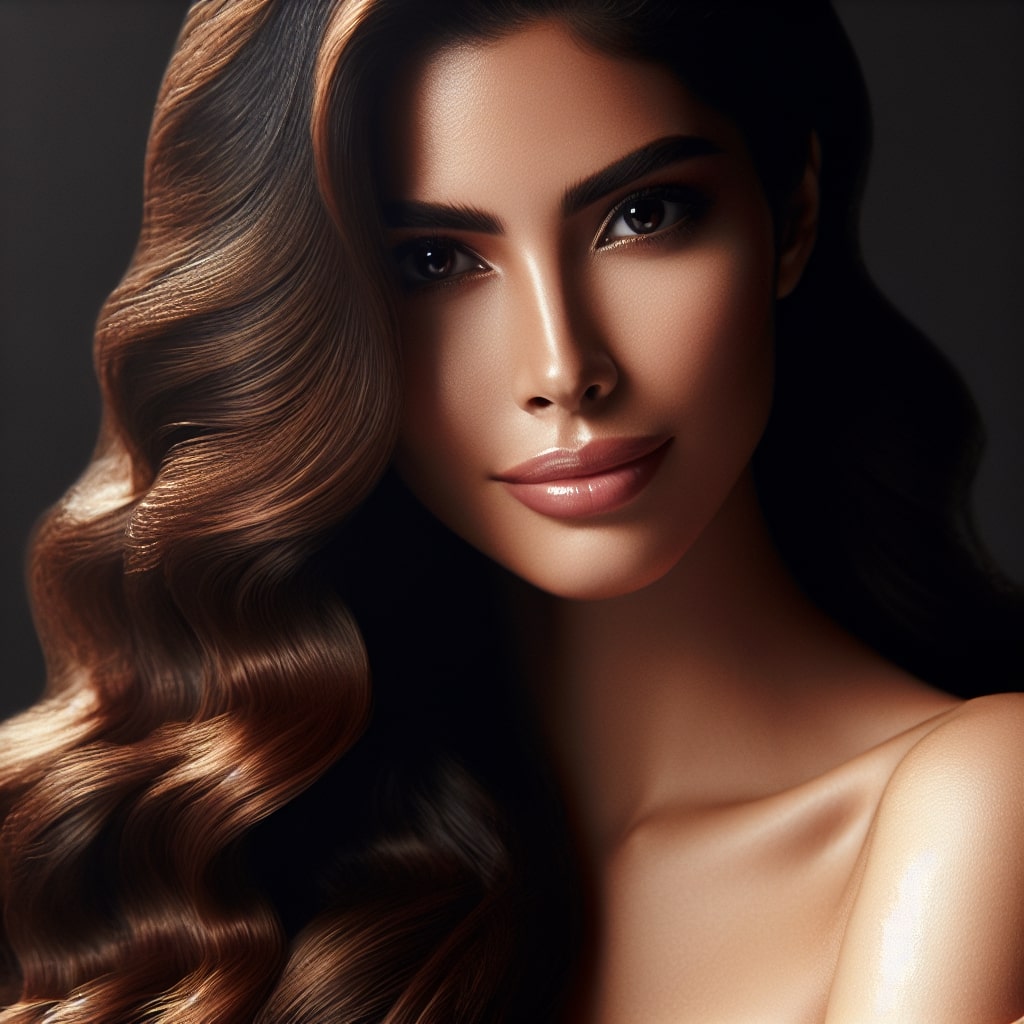
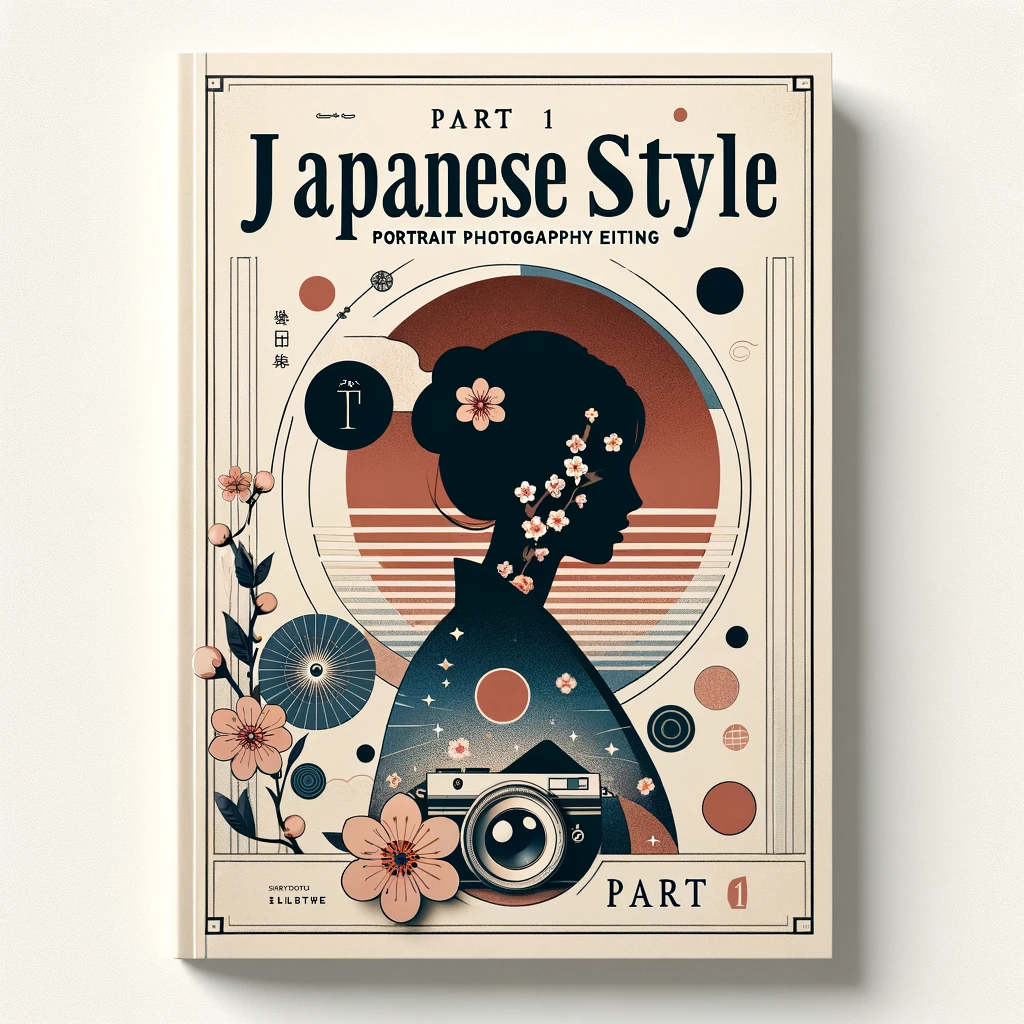 Generated by OpenAI DALL·E 3
Key Points for Adjusting Japanese-style Portraits
-
1. White Balance
- Temperature: Slightly increase to add warm tones.
- Tint: Make minor adjustments based on the photo's needs, adding pink hues to warm up the skin color.
-
2. Exposure and Contrast
- Exposure: Moderately increase to brighten the photo.
- Contrast: Slightly raise or adjust as needed.
-
3. Highlights & Shadows
- Highlights: Reduce to recover details in overexposed areas.
- Shadows: Slightly increase to reveal details in dark areas.
-
4. Clarity, Dehaze, Texture
- Clarity: Slightly reduce to add a sense of softness.
- Dehaze: Adjust based on the photo's need for haze removal.
- Texture: Slightly increase to enhance details.
-
5. Tone Curve
- Fine-tune the highlights and shadows, creating a slight S-curve to enhance contrast.
-
6. Color Grading
- Saturation: Slightly reduce certain colors to achieve a more natural skin tone.
- Hue & Saturation: Make minor adjustments to reach the ideal skin color.
-
7. Split Toning
- Highlights: Add warm tones, such as soft orange or yellow.
- Shadows: Add a slight cool tone, such as blue or green, to create balance.
-
8. Sharpening & Noise Reduction
- Sharpening: Increase appropriately to enhance details.
- Color Noise Reduction: Slightly increase if necessary to smooth the skin tone.
-
9. Effects
- Fine-tune vignette or grain to add a vintage feel or texture.
Remember, these parameters are just a starting point. The most important thing is to adjust according to your photo and creative vision. Different photos and lighting conditions may require different adjustments.
The following sections will introduce these concepts in detail. By the end of these articles, everyone should be able to explore and find their own favorite Japanese-style portrait editing mode.
1. White Balance
The traditional and classic Japanese-style portrait typically prefers warm and soft color tones, emphasizing a natural and comfortable atmosphere. When adjusting white balance, especially the temperature, your goal is to add a warm feeling to the photo while keeping it natural and authentic. Here are some specific adjustment suggestions:
Adjusting Temperature
- Increase Temperature: Slightly adjust to a higher temperature to add more yellow or orange tones, creating a warm feeling. This is especially effective for photos with cold light or a blue hue.
- Moderate Adjustment: The key is moderation. Over-increasing the temperature could make the photo look unnatural or too yellow. The adjustment should be enough to make the photo feel warm yet still natural.
- Consider Ambient Lighting: If the photo was taken at sunset, the natural light itself tends to be warm, so you might not need much adjustment. Conversely, if shot on a cloudy day or in the shade, you might need more temperature adjustment to achieve that warm feeling.
Auxiliary Adjustment for Tint
- While adjusting the temperature, you may also need to fine-tune the tint. This is usually to balance the skin color, avoiding an excess of green or red tint.
- If the photo shows a slight green bias, adding some pink tint can neutralize it.
Final Check
- After adjustments, check if the skin color and the overall color tone of the photo look natural and harmonious.
- Use multiple photos or photos taken in different environments to ensure your settings are effective in various situations.
2. Exposure and Contrast
In Japanese-style portrait editing, adjusting exposure and contrast is crucial as they directly affect the overall brightness and intensity of colors in the photo, thereby determining the photo's atmosphere and style. Here's a detailed explanation on how to make these adjustments:
Exposure
Adjusting exposure impacts the overall brightness of the photo. The Japanese-style portrait usually seeks a soft and natural lighting effect, hence:
- Fine-tune Brightness: If the photo is overall too dark, appropriately increasing exposure can make it look brighter and more vibrant. Conversely, if the photo is too bright, slightly decreasing exposure can help recover details, especially in the highlights.
- Maintain Details: When adjusting exposure, be careful not to overexpose or underexpose to avoid losing details. The goal is to achieve a balance, making the photo both bright and full of details.
Contrast
Contrast adjustment affects the depth of the image. Increasing contrast will make the dark and light parts of the image more distinct, while decreasing contrast will make the image look softer.
- Slightly Adjust Contrast: In Japanese-style portrait editing, contrast should not be adjusted too high to avoid creating an overly intense visual contrast, thus losing the unique softness. A slight increase or decrease in contrast can help maintain a delicate and layered feel in the photo.
- Maintain Naturalness: Moderate contrast adjustment helps keep the image's natural feel and dynamic range, making the photo look both deep and warm, without losing a sense of intimacy.
Comprehensive Application
- When adjusting exposure and contrast, it's important to find a balance point where the photo looks naturally bright and retains details and texture, avoiding over-processing.
- Using the Curves tool for finer adjustments can affect both exposure and contrast. A slight S-curve adjustment can achieve a result that enhances details in the highlights without losing the depth in the shadows, which is especially effective for creating Japanese-style portraits.
3. Highlights and Shadows
For a better Japanese-style portrait, adjusting highlights and shadows is very important. The characteristic of the Japanese style is soft and natural, with a certain airiness. Here are suggestions for adjusting highlights and shadows:
Highlights Adjustment
- Lower Highlights: Typically, lowering highlights can help recover details in overexposed parts, which is particularly important for scenes with strong lighting. This can make the photo look softer and reduce the contrast of intense light.
- Maintain Details: Appropriately lowering highlights can make the bright areas on the face look more natural, avoiding overexposure while maintaining the details and texture of the skin.
Shadows Adjustment
- Increase Shadows: Raising shadows can reveal details in dark areas, giving the dark regions of the photo more layering and depth. This helps achieve a more balanced lighting effect.
- Add Airiness: By increasing shadows, the overall picture can appear softer and more airy, which is an important characteristic of the Japanese-style portrait.
Balanced Adjustment
- Balance Light and Dark: The adjustment of highlights and shadows should balance each other. Lowering highlights to recover details in the bright parts, while raising shadows to reveal details in the dark parts, can achieve a more balanced and softer overall effect.
- Watch Overall Contrast: When making these adjustments, be careful not to overly suppress highlights or overly brighten shadows, as this may cause the photo to lose contrast and depth.
- Preserve Details: It's important to maintain the details and texture of the photo, especially on the person's face and in critical lighting parts.
Practical Operation
- Adjust using the sliders in Lightroom's "Basic Adjustments" panel.
- Observe the histogram to ensure that the highlights and shadows are not overly compressed.
- Use local adjustment tools, such as the gradient filter, radial filter, or adjustment brush, for more precise adjustments in specific areas.
Through this approach, you can create natural, soft, and layered lighting effects for your Japanese-style portrait photos.
For the Japanese-style portrait, a warm and natural feel is key. When making these adjustments, it's recommended to repeatedly preview the effects and fine-tune based on the specific situation of the photo and the desired style. Each photo's lighting conditions and colors are unique, so these adjustments need to be applied flexibly and creatively.
