Japanese-style Portrait Editing Guide
Adjusting Clarity, Dehaze, Texture, Exposure, Highlights, Contrast, and Shadows
Senior ShuttersPosted on 2024-02-16 22:26:42
#photography #portrait #photoediting
The previous article, "Part 1 of Japanese-style Portrait Editing" outlined the adjustments for white balance, color temperature, tint, exposure, contrast, highlights, and shadows. This follow-up will delve deeper into the pairing adjustments of exposure and highlights, before moving on to the adjustments for clarity, dehaze, and texture, which will surely elevate the level of Japanese-style portrait retouching.
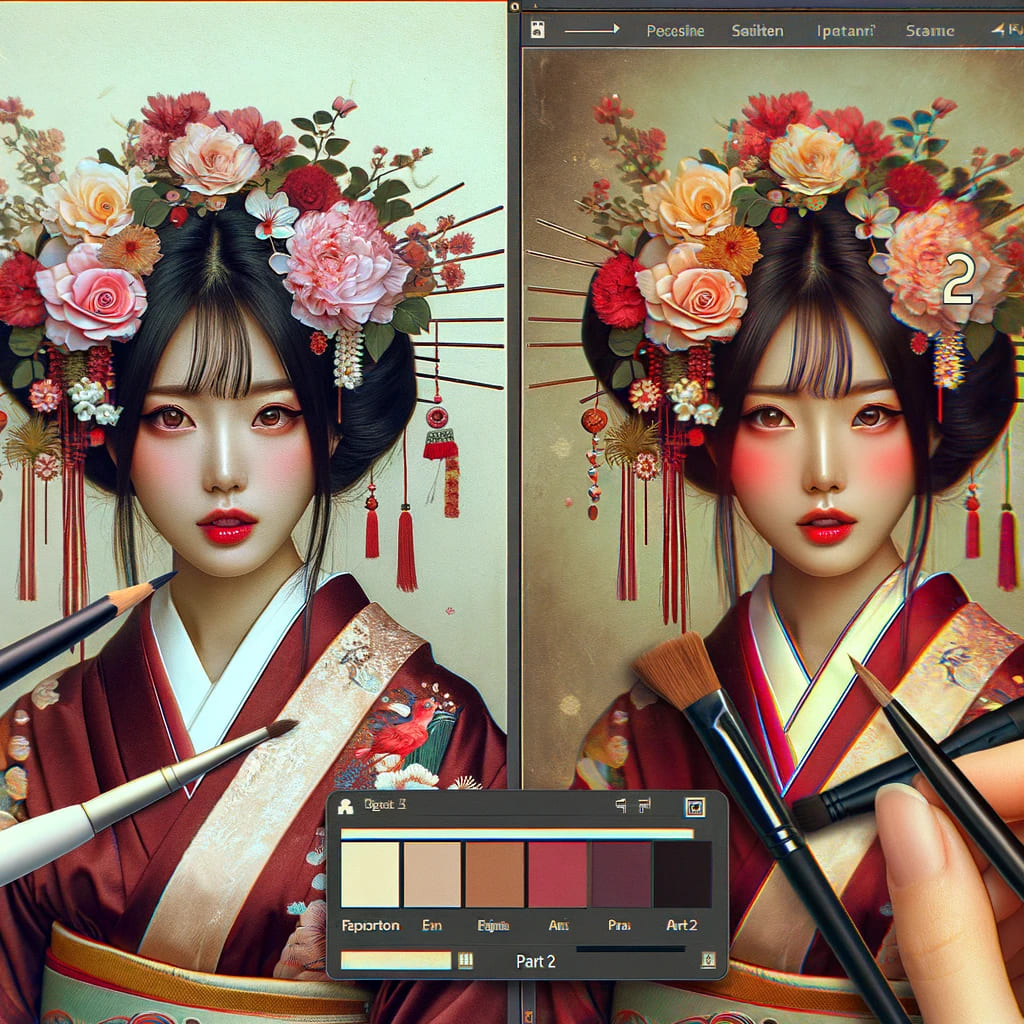 Generated by OpenAI DALL·E 3
On Pairing Adjustments of Exposure and Highlights
The adjustments for exposure and highlights, points two and three, aim to balance brightness and detail. These adjustments affect each other but have different scopes. Understanding how to use them together is crucial.
Exposure
- Primarily affects the overall brightness of the photo.
- Increasing exposure brightens the entire photo, including dark and light areas.
- Decreasing exposure darkens the entire photo.
Highlights
- Specifically targets the brightest parts of the photo.
- Lowering highlights can recover details in overexposed areas, particularly useful near the sky or light sources.
- Increasing highlights makes bright areas brighter, which may lead to detail loss.
Pairing Adjustments
- Initial Assessment: First, assess the overall brightness. Adjust exposure if the entire photo is too dark or too bright.
- Detail Recovery: After adjusting exposure, check if there are lost details in highlights. Lower highlights to recover details if they're overexposed.
- Balance Brightness: After adjusting highlights, you might need to readjust exposure to ensure the overall brightness meets your expectations.
- Repeated Adjustments: This process may require several iterations. Examine different parts of the photo to ensure both highlights and shadows have adequate details, and the overall brightness is ideal.
Practical Tips
- Use histograms: Lightroom's histogram helps understand brightness distribution. Avoid too much "clumping" at the histogram's ends, indicating overexposure or underexposure.
- Pay attention to details, especially on faces and significant highlight areas.
- Make local adjustments if necessary, using tools like graduated filters, radial filters, or adjustment brushes for finer control over brightness and highlights.
On Pairing Adjustments of Contrast and Shadows
In the retouching process, the adjustments for contrast and shadows, points two and three, also affect each other. Understanding their pairing can better control the photo's light and shadow effects, especially in creating portraits with a Japanese style. Here's how to coordinate these adjustments:
Contrast Adjustment
- Adjusting contrast affects the difference between the brightest and darkest parts. Increasing contrast makes this difference more pronounced, adding depth to the image but possibly losing some details in very bright or dark areas.
- In Japanese-style portraits, a moderate increase in contrast can add layering to the photo without losing the nuances and details of light and shadow.
Shadows Adjustment
- Shadows adjustment specifically affects dark areas of the image. Brightening shadows reveals more details but excessively doing so may flatten the image, losing depth.
- Appropriately brightening shadows in Japanese-style portraits can add a sense of softness while preserving details in clothing and backgrounds.
Pairing Adjustments
- Start with Contrast: Initially adjust contrast to define the overall light-dark range and style tone. Slightly increase contrast as needed to enhance visual impact and depth.
- Fine-tune Shadows: Then, adjust shadows to recover dark area details, especially in faces and clothing folds. This helps maintain image details and texture while enhancing contrast.
- Balance and Coordination: The goal is to balance contrast and shadows, ensuring the image has sufficient depth without losing details. Increasing contrast may require adjusting shadows accordingly to maintain naturalness and detail.
Practical Tips
- Use the Curves tool for finer light-dark adjustments, allowing simultaneous control over contrast and light-shadow details, suitable for creating more delicate Japanese-style effects.
- Maintaining details while increasing contrast can make the image more vibrant while preserving its natural and soft texture, crucial for Japanese-style portraits.
4. On Adjusting Clarity, Dehaze, and Texture
Adjustments for clarity, dehaze, and texture, mentioned in point four, are crucial for Japanese-style portrait retouching. These settings affect the photo's texture and overall feel. Japanese-style portraits typically seek a soft, natural, and textured appearance, requiring delicate and cautious adjustments.
Clarity
- Slightly Lower: Clarity affects mid-tone contrast. In the Japanese style, clarity is usually slightly reduced to add a softness to the image, making it look more tender and emotional.
- Avoid Excessive Lowering: Reducing clarity too much can make the photo overly blurry, losing essential details and texture. Moderate adjustment is key.
Dehaze
- Use With Caution: The dehaze tool mainly reduces haze or mist effects in photos, enhancing the clarity and contrast of distant objects. In the Japanese style, use this tool cautiously.
- Adjust as Needed: If the original photo looks slightly hazy, add a bit of dehaze to increase clarity. If the photo is already clear, no adjustment is needed.
Texture
- Slightly Increase: Texture adjustment enhances detail texture in the photo, particularly useful for emphasizing details in hair, clothing, or backgrounds.
- Maintain Naturalness: Increasing texture can add layers and texture to the image, but ensure it remains natural, avoiding making the photo look too rough or sharp.
Comprehensive Adjustment Suggestions
- Overall Balance: The most crucial aspect is maintaining the overall balance and natural feel. This means avoiding over-adjusting any setting.
- Adjust According to Photo Characteristics: Adjust based on each photo's features and lighting conditions. Different photos may require different levels of adjustment.
- Preview and Compare: Frequently preview the effects during adjustment and compare them with the original photo to ensure the adjustments align with your preference for the Japanese style.
These detailed adjustments enable better control over the photo's visual effects, creating portraits that are both deeply layered and detailed while incorporating a soft, natural, and textured Japanese-style creation.
